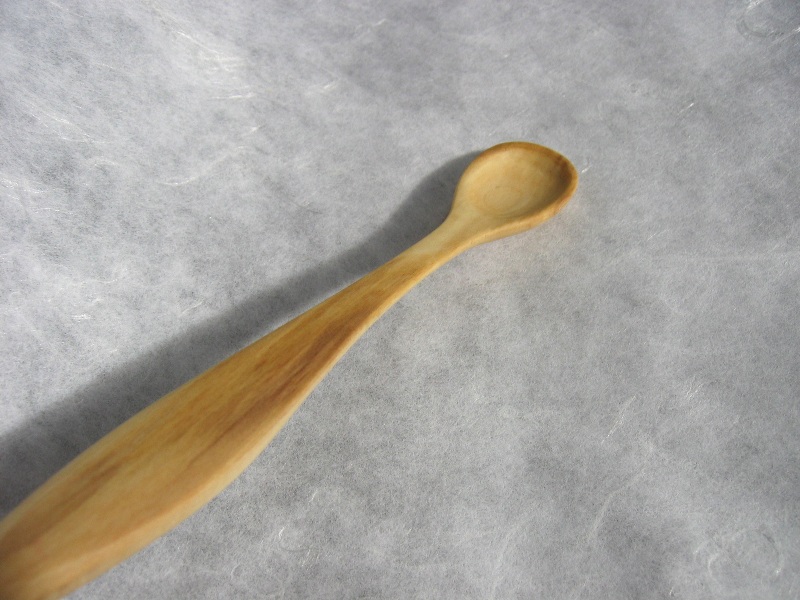
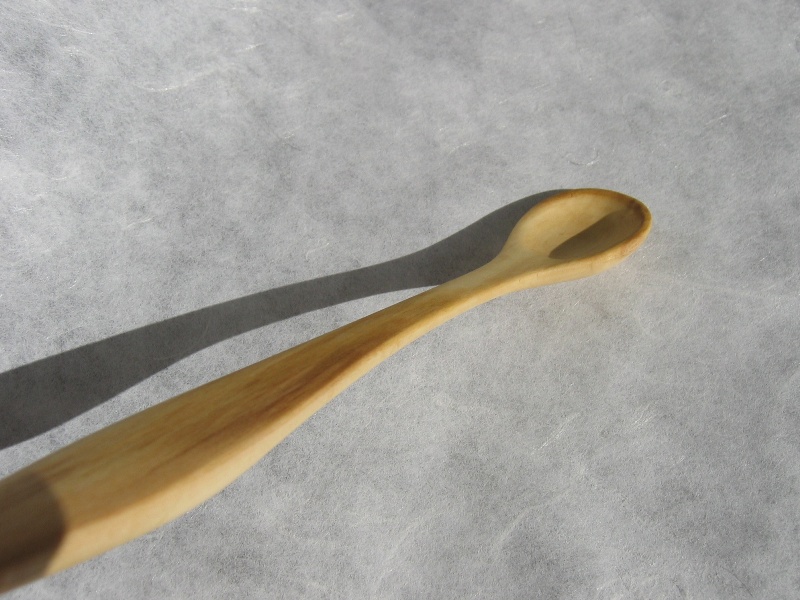
It’s been a while since the last update on this project. Having many projects going at the same time inevitably means a few of them move at a slower pace than I would like. Still, we have finished renovating one more room in our house, so I am back to working on the table a bit more frequently these days. Let’s see what’s new.
The summer has been too short, this year. Maybe it’s because the academic year ended late for me, or maybe it is because we never really had much sunshine in Groningen this year. Maybe it’s just that we’ve have too many irons in the fire. New house, young child, full-time jobs, tables to build, food columns to write, research projects to supervise, spoons to carve… The list is endless. Not that I’m complaining. As intense as the year has been, it has also been incredibly fulfilling and rewarding.
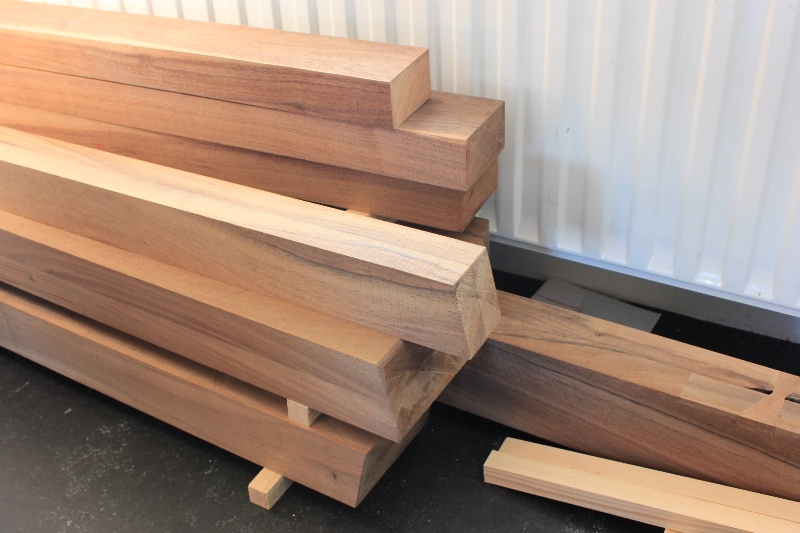
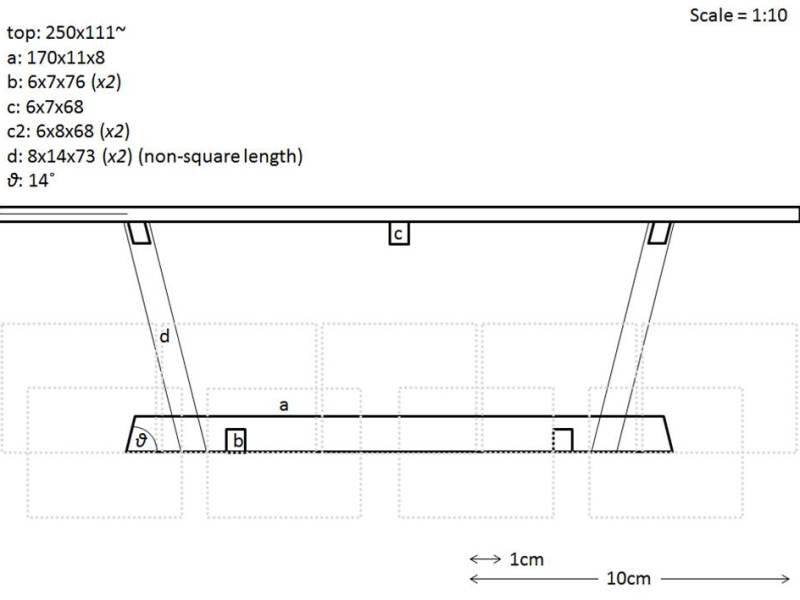
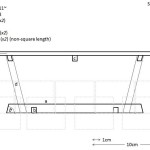 Last week I had some time to start working on the table. While Robert from Dikhout was preparing the stock for the posts and the stretcher, I went to work preparing the stock for the three cleats. First, I suppose, it would be good to get the terminology clear so we all know what we’re talking about. In the sketch on the right, the piece marked ‘a’ is the stretcher, the two pieces marked ‘b’ are the feet, the three pieces marked ‘c’ are the cleats, and finally the two pieces marked ‘d’ are the posts.
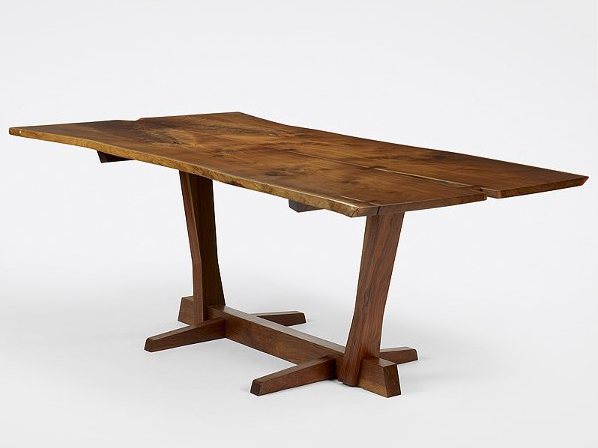
Well, there’s no hiding from the fact: 2012 is already here! The end of the world, if you’re into Mesoamerican calendars, the beginning of new and wonderful things, if you’re a “glass half-full” kind of person. For me, it’s the beginning of a project I have been cooking up for years.
If you’ve been wondering how this spoon-making process actually looks, the following series of videos posted by Robin Wood should make things a bit clearer. He divides the process in 4 steps, each accomplished with a specific tool. Roughing out is done with a hatchet or small axe, further refining of the overall shape with a knife, then the bowl of the spoon is carved out with a hook knife, before the whole thing is finished with careful smoothing cuts.
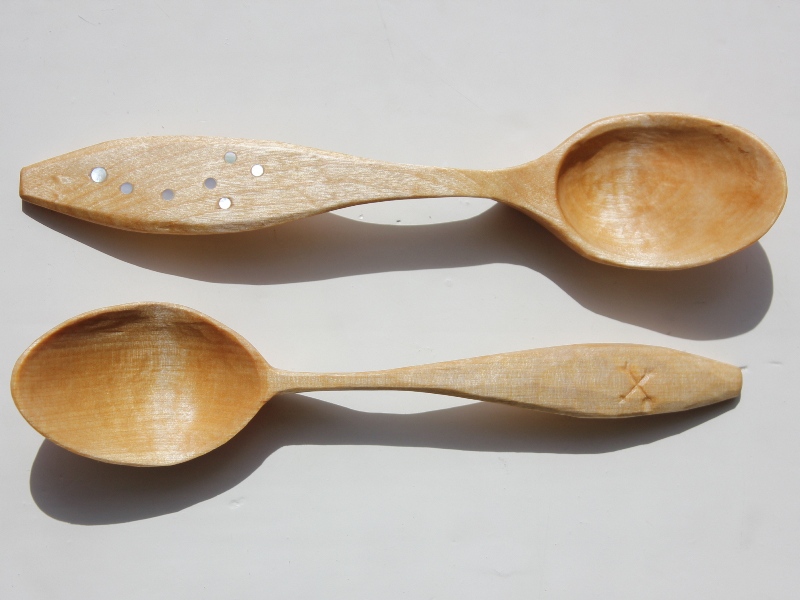
Hello again dear reader (the singular here is not, I suspect, just a figure of speech). Last time, I posted about a spoon I made out of some wood I salvaged from a chestnut tree that had to be cut down due to old age. I figured that it was only fair to extend its life a little bit longer by making a few useful things out of it. It turns out that spoon making is also extremely fun.

